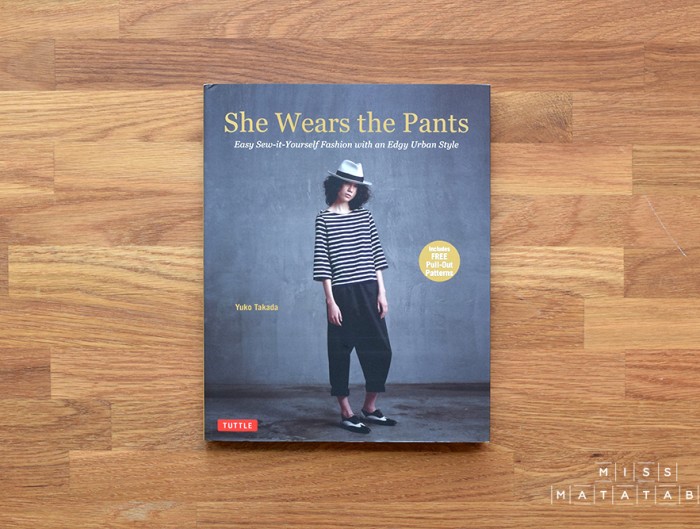
JUBILEE Summer Madras Tote Bags
December 29, 2015
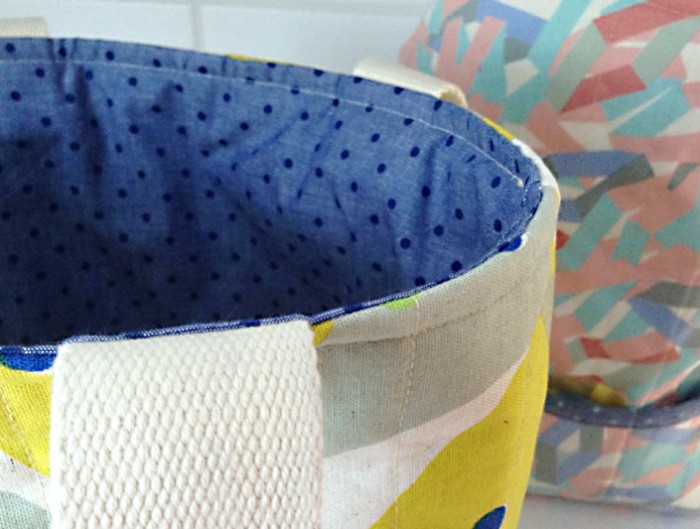
This was written by Leslie for the Miss Matatabi Makers series. ∆ ∆ ∆ Have you ever just spent hours looking at all the awesome fabrics in Miss Matatabi's shop? I feel like this is what I …